Go to the location where config.cmd is located and then double click on it.
D:\Oracle\Middleware\Oracle_SOA1\common\bin\config.cmd
When the configuration wizard's Welcome screen comes up, select Create a new WebLogic domain and then click on Next.

Select Generate a domain and select SOA Suite, Enterprise Manager, and Business Activity Monitoring. Dependent products are selected automatically.Click on Next.
Enter the domain name: domain1.Click on Next.

Enter the user name as weblogic and a password. The password welcome1 is assumed here but you should choose your own secure password and remember it for later whenever the password is referenced.Click on Next.
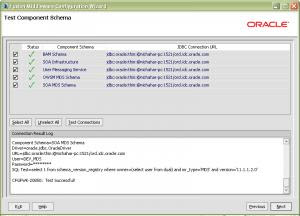
On the Configure JDBC Component Schema screen, you select the components that you want to change,and then enter the property value for those components. First, select all of the components and enter welcome1 for the password in the Schema Password field.
With all of the checkboxes selected, enter the Service, Host, and Port values.
Now, look at the table. Review the Schema Owner column and confirm that the values are the same as what you configured in the Configure Schema section when you ran the RCU.Go back and review the screenshots in that section of this document for the schema owners if you do not remember them.
Complete the following if the schema owners need to be updated:
i. Deselect all the component checkboxes.
ii. Select BAM Schema only.
iii. Enter the Schema Owner for BAM.
iv. Next, deselect BAM Schema and select the next one.
v. Enter the schema owners one-by-one.
vi. Continue until all schema owners are entered.
Click On Next.
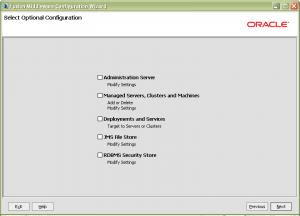
Click on Next without selecting any Option.


No comments:
Post a Comment